Maybe it’s because my first “real” job was working in a library. When I visit a website with a blog, what can drive me crazy is not being able to navigate through posts to find what I am looking for, or, being able to read more posts on a particular topic. Organizing wordpress posts makes your audience happy and that makes search engines happy. The cardinal sin for your WordPress blog,is having no post organization whatsoever and everything is just presented in chronological order. It’s as if you walked into a book store and had to find what you are looking for solely by the date it was published!
When we are shown a large group of anything, our brains naturally try to organize them in groups. There are degree programs devoted to taxonomic disciplines such as Library Science, and Zoology and these are the folks that ensure you can walk into any library or natural history museum and easily find what you are looking for.
Organizing WordPress: a Wine Blog
It’s one thing to look at a wine display in a wine shop, but entirely different to view a single blog post about a particular wine on a website. How easy can you make it for your readers to find other wines they may like navigation from post to post? What if a reader is looking for reviews about only Italian white wines with notes of oak or citrus?
Categories: The Broad Strokes
Your posts should be divided into categories that signal the main topics you write about. It’s entirely up to you how you want to organize your posts, but try to keep topics/categories fairly broad. For example, maybe you want to have a blog as part of your wine shop business. Maybe a good place to start would be the main types of wine such as Red, White, Rose, and Sparkling. Or, your main categories could be geographic regions like France, Italy, Australia, etc. You could even have a hierarchical category setup where the category “Red” can have sub-categories like French Reds, Italian Reds and so on.
Tags: The Details
With a category system in place that is cohesive and easy to navigate, it’s time to include some tags. Using the wine blog example even further, let’s give your posts some tags like: earthy, floral, dry, buttery, oak for the different notes in their flavors. Also, you can let your taxonomic imagination run a little wilder here. Tags could be the name of the winery, more adjectives like “full-bodied”, or even the type of food the wine can be paired with.
Displaying your Taxonomy
There’s a lot of great things you can do to display your categories and tags in your sidebar as well as on the post itself. There is a misconception some site owners have which is that putting tons of keyword tags on posts helps SEO. That’s not exactly true. You only need to use tags which are really pertinent and don’t worry about using every keyword you can come up with. It’s creating a taxonomy that your readers can use to easily navigate your posts that finds favor with search engines. If someone finds your post via a Google search, don’t you want to encourage them to read more?
Widget Display
For example, look in the sidebar of this post. See this?
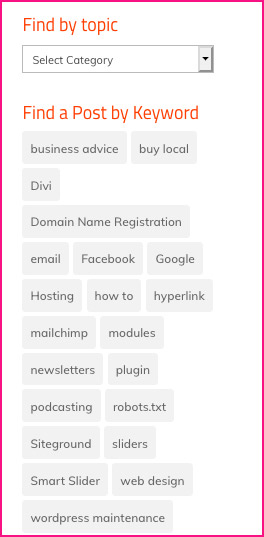
These are both created using widgets that come bundled into WordPress’ basic widgets. You can display categories as a list, or as a dropdown, like I did here. Tags are often displayed as a “cloud” and some blogs choose to set it up so the size of the text correlates to how often the tag is used on the site.
Post Display
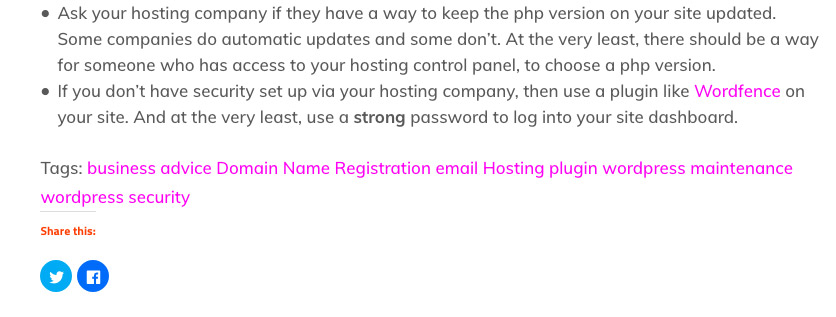
You can also display the categories and tags in the post. To minimize clutter at the top, it’s good to show just the categories in the post’s top meta section.

Underneath the post could be a good place to display tags if you want to. I used a plugin developed for the Divi theme called Divi Expand that allows you to display tags below your post content.
Menu Display
Another great way to help readers navigate your blog posts is built into the WordPress menu. Here’s how to add category or tag navigation into your main menu.
In your WordPress dashboard go to Appearance > Menus. Then, select the menu you want to add categories and/or tags to.
In the left side of the screen, under Add Menu Items, you will most likely see at least Pages, Posts, and maybe any type of custom post included with a theme. Beneath that you may already see a dropdown section for Categories and Tags.
MENU TIP
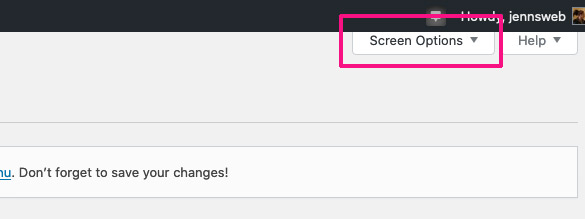
If you don’t see some taxonomy you want to include in your menu. Try this. Go to the top right corner of the menu editor page and click on “Screen Options”. It will open up a panel where you can check or uncheck the types of items you want to include in your menu. For example, I didn’t see Tags in my menu items, so when I clicked the Screen Options, lo and behold! There it was!
You could create a really cool navigation system for your blog this way. Let your imagination roam free and your readers will love you for it!
Managing Your Categories and Tags
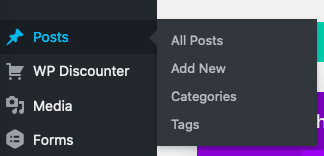
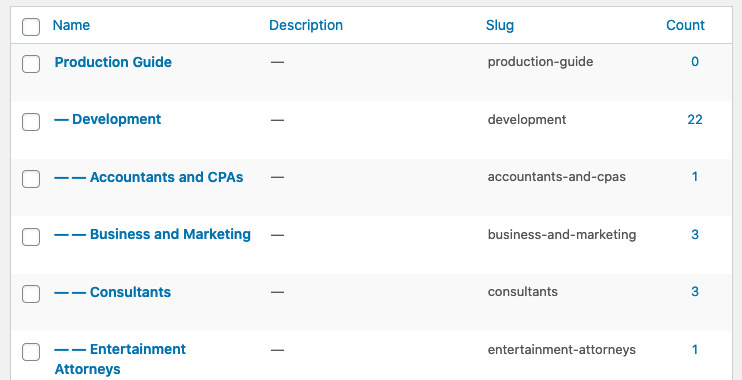
If you want a way to manage categories and tags in one central area, it’s built right into the Posts section of the dashboard.
You might realize that a category title is misspelled and need to correct it. If you edit the name of a category, it will automatically update itself throughout the site, so it’s much easier to manage using this way.
Or, you may need to set up a category hierarchy in advance before creating posts. This is a really easy way to handle unique uses for posts such as creating a self-generating directory or if your blog needs to have a very specific navigation structure.
So, feel free to unleash your inner librarian. How you decide to organize your posts is entirely up to you, but keep your audience in mind. Try to put yourself into your readers’ shoes and get a feel for how they may want to navigate your posts. And don’t forget the most important thing which is to keep posting and giving your audience new content to check out!
Image Credits
Card Catalog: https://unsplash.com/@erol
Zoology Museum: Simon Infanger: https://unsplash.com/@photosimon
Wine Shop: https://unsplash.com/@brandyturner
Records (featured image): https://unsplash.com/@jpvalery

