Sometimes, when I’m helping someone to get them acclimated to their new site, I realize that there are a few “Easter Eggs” lurking in the WordPress dashboard. My client is looking to customize their site somehow and the solution seems to be nowhere in sight. And then, “Eureka!” One of the many WordPress tricks is revealed in the dashboard and their problem is solved. Unlike many site building tools, WordPress does make it easy to control quite a bit of how your site will look and function. Here’s a guide to using some of my favorite customization tricks.
WordPress Tricks: Screen Options
If you have ever found yourself looking to change an option in the WordPress dashboard and thought “There must be a way to do this!” then this could make your day. Clicking on those two words, “Screen Options” in the top right corner can open up vistas of options that you didn’t know you had.
Depending on where you are in the back end, you will find different options. All that you need to do to change your options is click “Screen Options” in the top right of the page, check the boxes for what you want to display, and then click “Screen Options” again to close the panel and save your choices.
Main Dashboard Options
Starting at the main dashboard that you see when you first log in, you can control which dashboard features will be displayed by using Screen Options. The main dashboard options can include features generated by plugins such as Yoast SEO, Jetpack and Exact Metrics as well as common ones like Quick Draft and upcoming WordPress events and news.

Pages Options
Moving on from the main dashboard Screen Options, you can utilize the same feature for Pages. Click on the word “Pages” in your dashboard, and then Screen Options again. These will change the display of your Pages list.
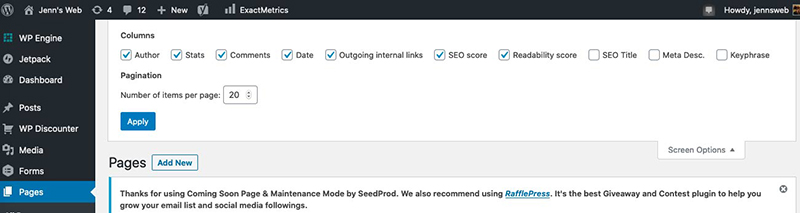
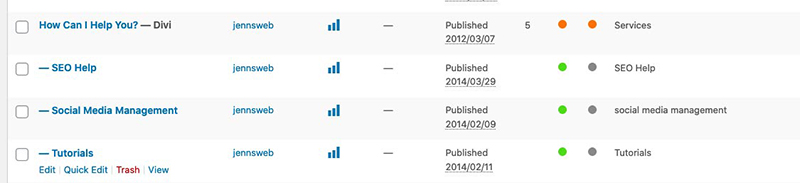
For example, you might want to get a quick overview of which pages are using which Key Phrases for SEO. Check the box next to Keyphrase and then see how the display on the main Pages panel changes.
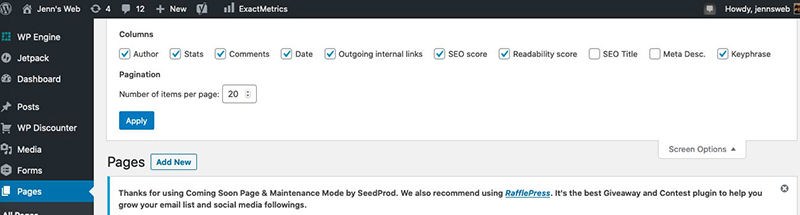
Now, you can see the keyphrase is displayed next to the pages’ SEO and Readability scores.
Menu Options
Being able to fully control your navigation menu can be a huge benefit for you and your visitors. Depending on how your site’s default menu display is configured, you may not see a lot of options at first, but using Screen Options can really be an eye-opener.

it’s pretty common that people want to expand their blog’s navigation link to include a dropdown of blog categories so users can get to them quickly. If you don’t see “Categories” in the available options for adding items to your nav menu, open up Screen Options to see if Categories needs to be checked. You can also make use of options such as “Link Target” which allows you to choose for a nav link to open up in a new tab.
Comments Options
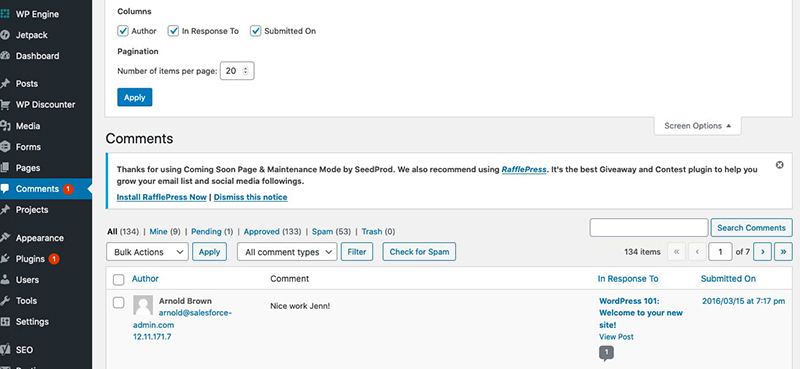
This section doesn’t have as many bells and whistles as the Menu options, but has a very useful feature. In the unfortunate event that you need to go through a lot of spam comments, you can use the “Number of items per page” feature to show a larger number of comments per page. That saves a lot of time that would otherwise be spent plowing through page after page.
Plugin Options
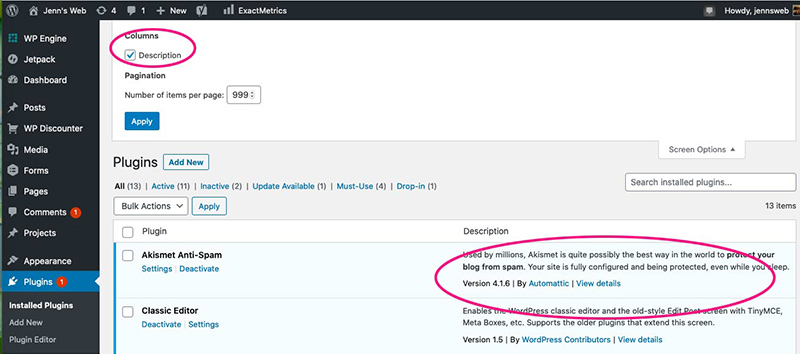
There are only two options for the plugin display. One is displaying or hiding the plugin description, and the other is controlling the number of plugins listed on each page.
Here’s the plugin page with “Description” checked.
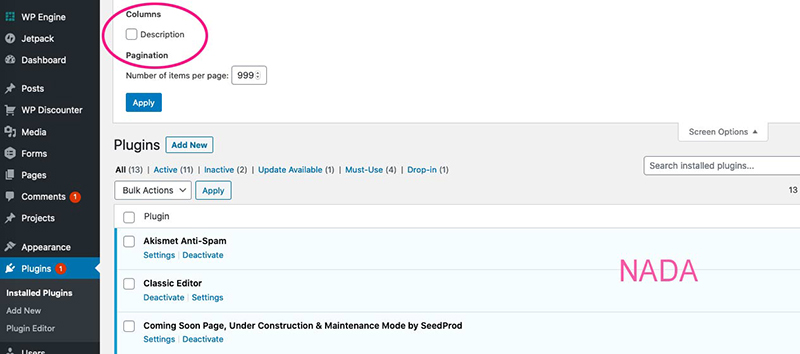
And here it is with “Description” unchecked. Now, you can see the description text is not displayed. Don’t know why WordPress thought this option is needed, but whatever…
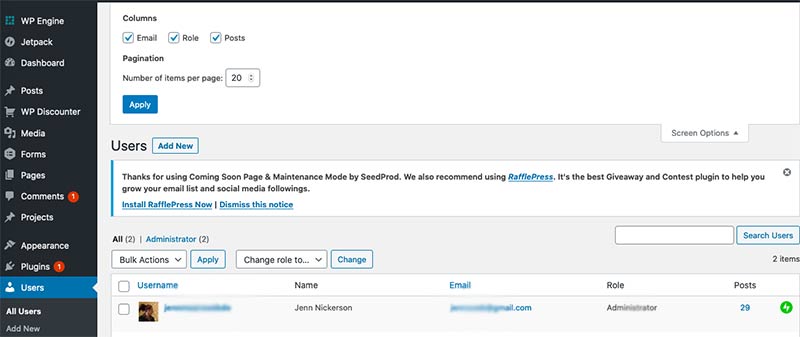
Users Options
Users options are limited to choosing to show users’ email addresses, their role and how many posts they have written. You can also choose how many users you want to show each page. An e-commerce site can end up with hundreds of user listings (for customers who open accounts) and perhaps you would want to not show email addresses. Similar to the Comments display options, you might want to be able to see more than the default number of users per page to make a bulk change go quicker.
Custom Ordering posts by date
WordPress posts can be more than just the articles that show up on your blog. There’s also the feature called “Custom Posts” which can be anything from a product listing in your store, to listings for a real estate site. The default way to show posts listed on a page is in chronological order. Suppose you want to change the order so one post shows up ahead of another. You might also want to group posts that were added on different dates together in groups. How can this be done?
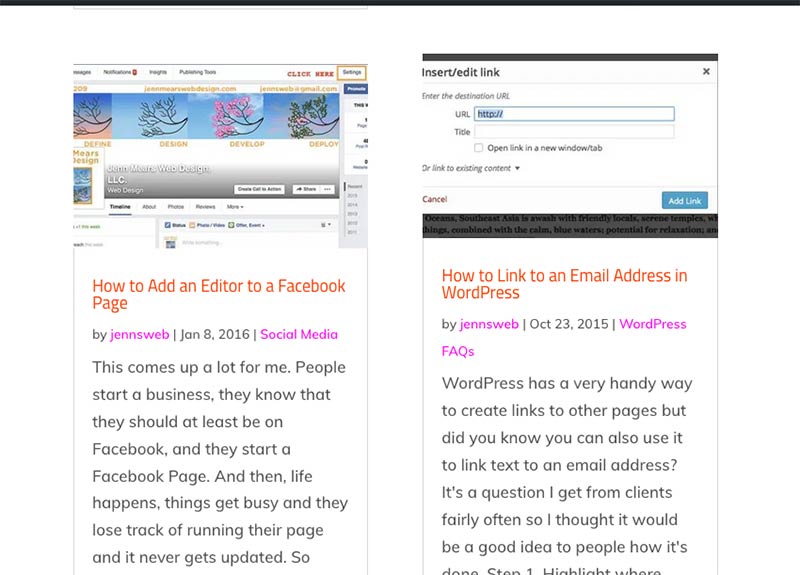
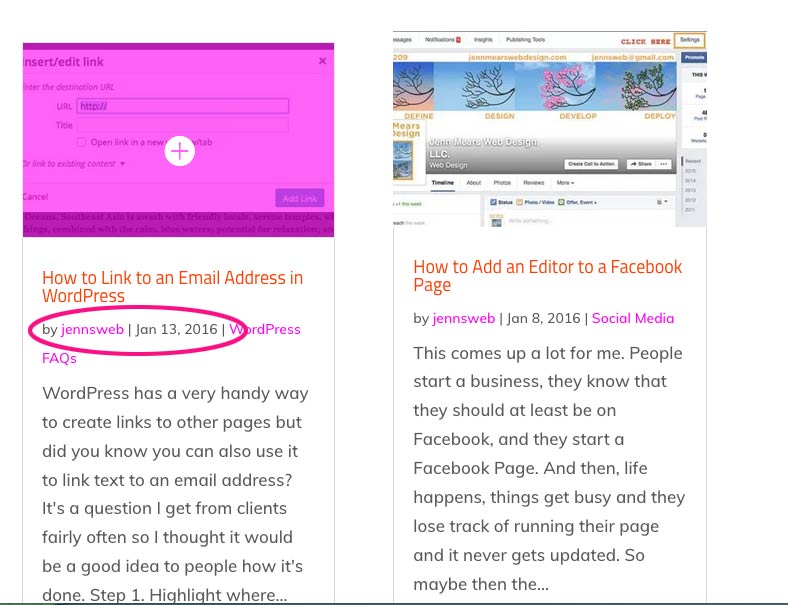
Let’s reverse the order these two blog posts are displayed on the main blog page of this site. Here’s the original order with the email address link post displayed last.
Changing the post order via Quick Edit
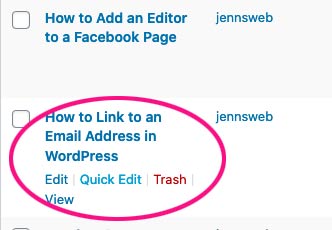
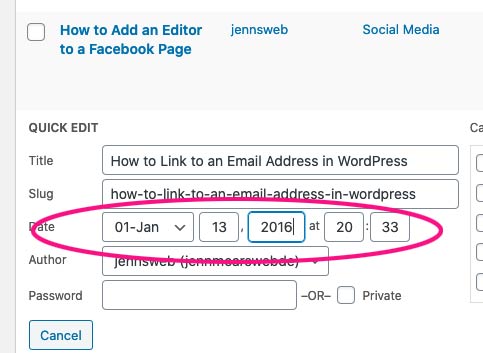
In the wordpress dashboard, go to the main Posts page and find the posts you want to alter. This will be much quicker if you use the Quick Edit feature. Just hover over the title of the post you want to re-position. Click on “Quick Edit” to start.
You’ll see that one of the Quick Edit options is the date the post was published. Now, change that date to one that is after the more recent post.
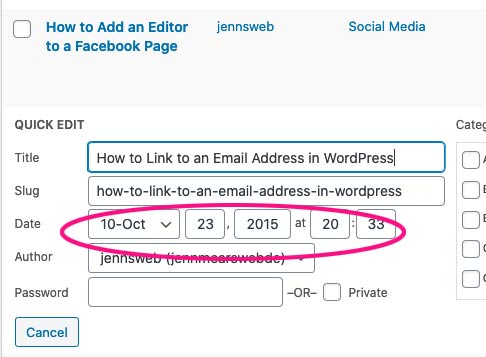
With the new date in place, click “Update” to save changes.
Go to the blog page and refresh it in your browser. Now you will see that the posts are in a different order.
WordPress Tricks: Custom Links
Wordpess navigation menus have really come a long way. When I first started using WordPress, it was necessary to use a plugin to order your pages in any way other than alphabetical order. Then, WordPress realized that wasn’t going to cut it, so they created the Menu system. This system has been expanded on to the point that you can create highly sophisticated menus that make it easy for people to find what they are looking for on your site.
The following are two features that are pretty useful to know how to add to your menu.
Adding a Custom Link
There’s a few reasons you would want to add custom links to your site. It could be a link to a Facebook page. Or, you may want to link out to other sites connected to your business.
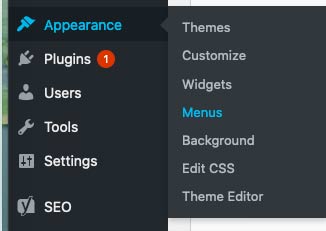
First, you need to go to Appearances > Menus in the dashboard, and then select the menu you want to edit.
With your menu selected, go to the panel on the left and click on Custom Link.
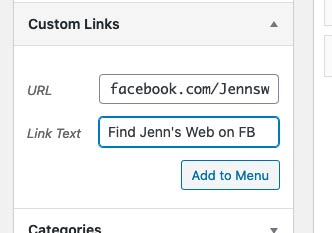
Add some text that will show up in your navigation and then paste in the link you want to add to the menu. Now you can add it to your menu.

Once it’s added, it will show at the bottom of the menu. You can drag and drop it anywhere you like. Then, save your changes. (and this is where that Menu screen options can come in handy to have the link open in a new window!)
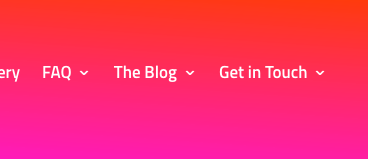
Here’s the link in the menu that the visitor sees.
WordPress Tricks: Adding a Non-linking Menu Item
When it comes to sub-menus that extend from a link in the main navigation there are two distinct schools of thought. One school says that users will click on the main nav link and implicitly understand that it’s the main page of a section and that the items in the dropdown menu are sub-sections. The other school states that having the main page link only in that top level navigation will confuse the user and lead them to assume that they need to click something in the dropdown to go to that page. In other words, the top link is only the section’s label, and not a page itself.
Personally, I think the second school is overthinking the issue a bit, but if you really want to make sure everyone out there finds the main page of a section on your site, then there is a way to include text in your navigation that won’t take visitors anywhere if that’s what you want.
For example, I’ll use the Get in Touch section of my site’s navigation. I could be building this site for a client and they might say. “I’m worried that people who hover over ‘Get in Touch’ and see the dropdown menu, won’t realize that top link is the main Contact page.”
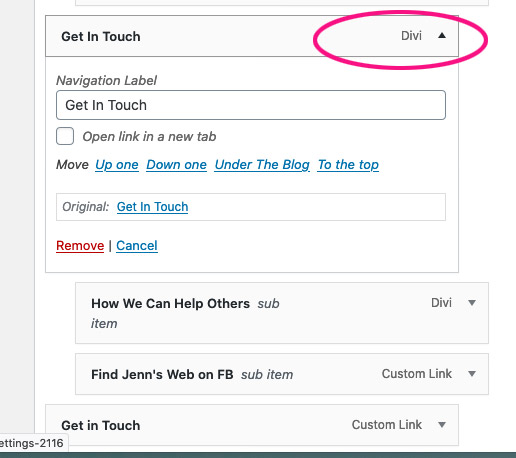
If you know how to add an “empty link” to a navigation menu, fixing this issue is a snap. Go to the menu you want to edit, and add a new custom link. BUT, instead of adding an actual url, just put in a hashtag like so:
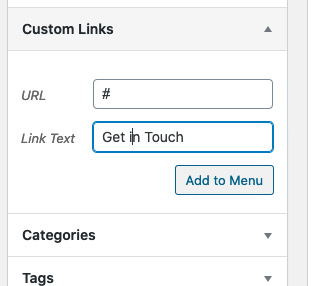
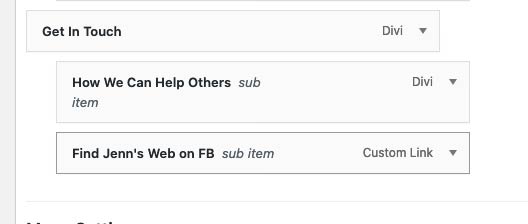
Then, add your link text and then click “Add to Menu”. In the screenshot below, you can see that will add that custom link to the end of your nav menu. WordPress also labels what type of link it is, so it says Custom Link on the right.
Then, just drag and drop that new custom link to the top of the Contact section and then, move the real Get in Touch menu item into the sub-menu.
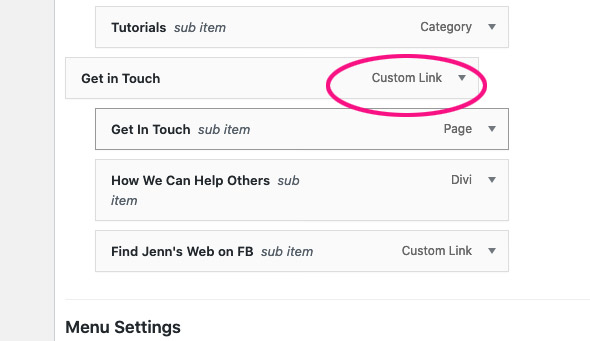
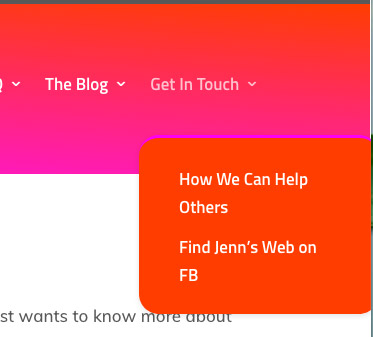
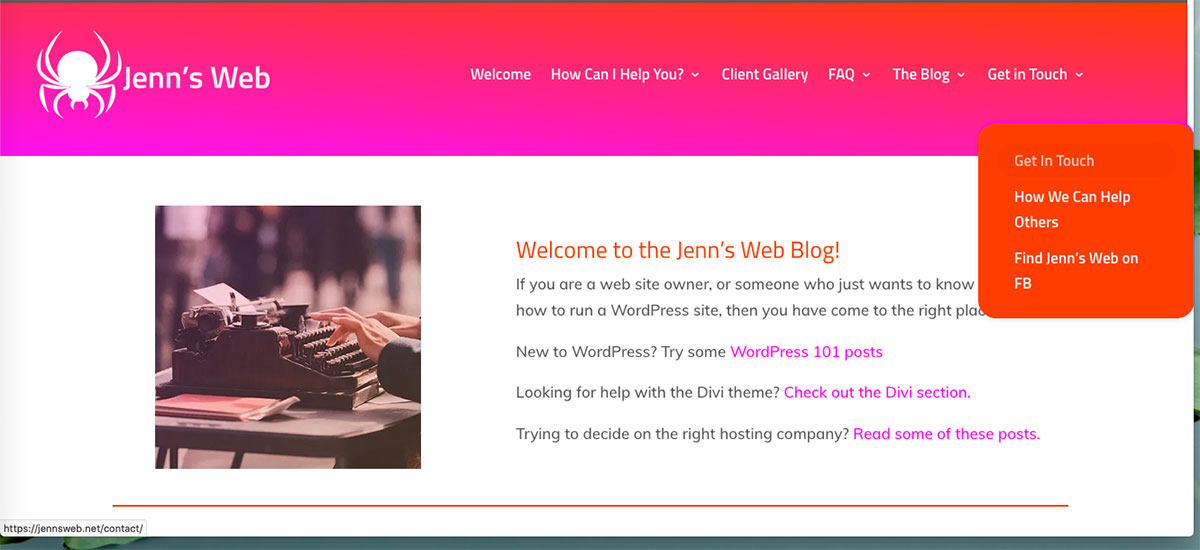
Now you still have “Get in Touch” in your top level navigation, but its function has changed to being a placeholder for your Contact sub-menu to live under. If you were to hover over it, you will see that its link displays as just a hashtag.
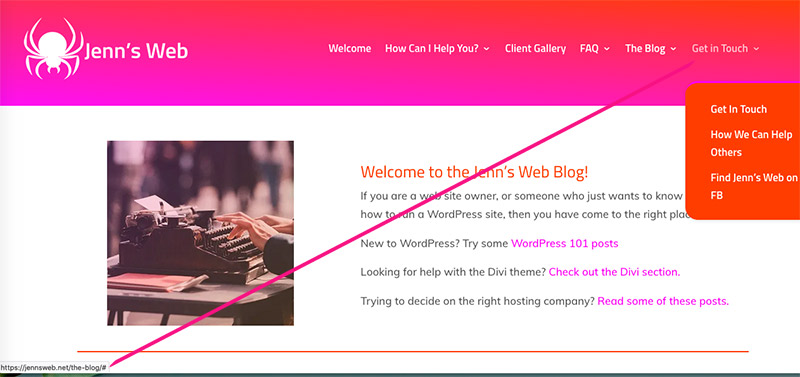
If you hover over the link in the dropdown menu, you will see in the lower left corner that it’s an actual link to the Contact page.

Being able to add text to your navigation can come in handy, so bear this trick in mind if you ever need to add non-url text in the future!
WordPress Tricks: Controlling widget display
Again, like custom ordering navigation, this type of thing used to require a plugin. Happily, the the good folks at WordPress.org got hip to this and provide a fix.
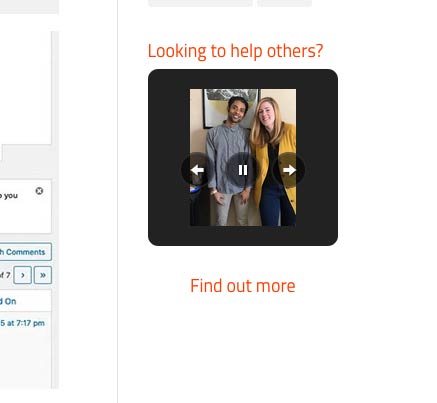
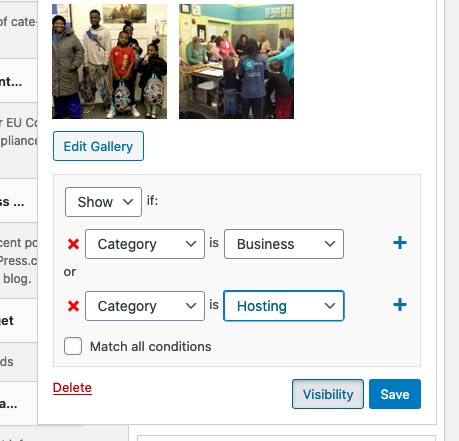
What I’ve done here is set this Gallery widget to only display if the user is on a post in either the Business category or the Hosting category.
 In order to set this Gallery widget to display only on these two categories of posts, find the widget in the Appearances > Widgets section of your dashboard.
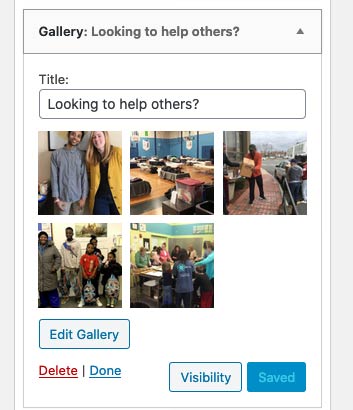
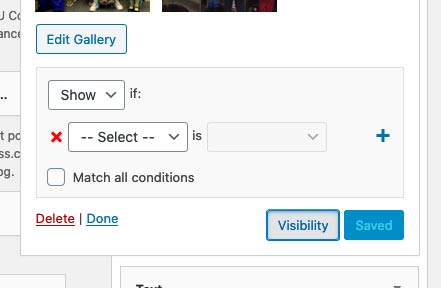
Click on where it says “Visibility” to open up that dialogue panel. There, you can set a widget to only show if certain criteria are met.
As you can see below, I’ve set the criteria as: “Show this widget if the category is Business OR Hosting”.
As you can see, once you realize it’s there, it’s easy to fully control which widgets are displayed where on your site.
WordPress Tricks: Custom Sizing for Images (and linking images)
It can be easy to forget to resize that really cool stock image, or phone photo before uploading it to your site. What do you do when you realize that an image is going to be too big for your page?
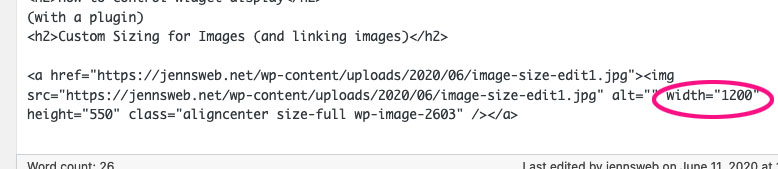
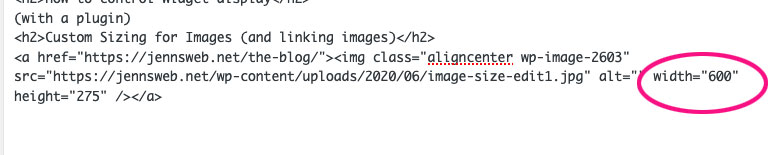
Luckily, there is a very easy fix for this if you know where to look first. The screenshot below is what an uploaded image’s html looks like in WordPress’ text editor. You can see the width and height of the image in pixels.
Edit the image in Visual Mode
WordPress lets you toggle back and forth between Visual and Text edit mode. I tend to work in text mode myself, because I’m used to writing html, but most site editors tend to use Visual mode.
Whatever your preference, you will need to be in Visual mode to resize your image. So, toggle on Visual mode and then click on an image you want to shrink down.

When you click on the image, at the top of the bounding box, you will see a mini-toolbar popup. Click on the pencil icon to get started.

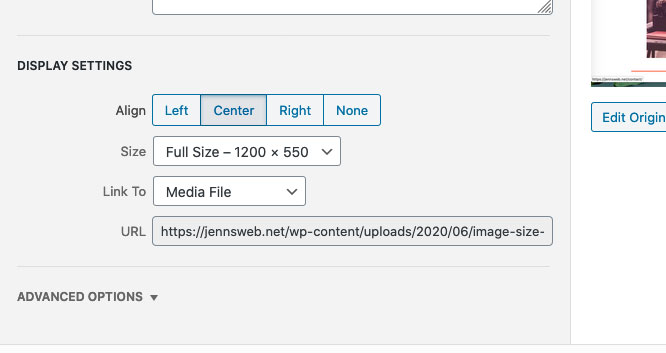
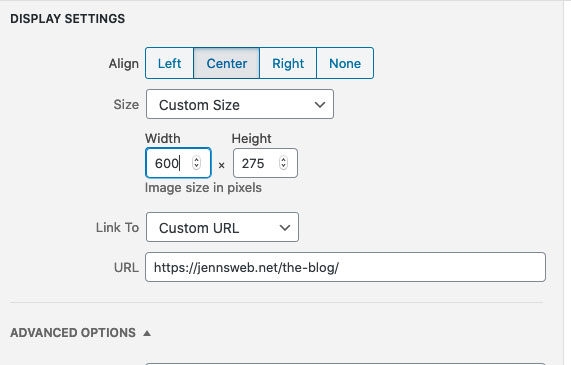
After clicking on the pencil, a new editing window will appear. You need to click the dropdown arrow next to Size.
One of the choices will be “Custom Size” so click that.
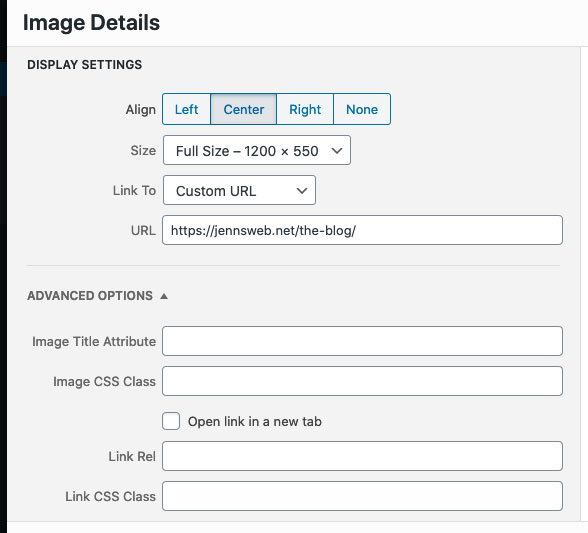
Why not link the image too?
Oh! There’s one more cool thing you can do in the Image Editor. You can link that image to another page, post or even a different website. See below:
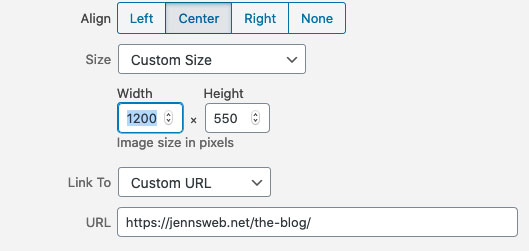
Ok, back to image sizing. You’ve selected “Custom Size”. Now, you can either use the arrows to reduce the width, or simply replace the original width with a smaller one.
“But couldn’t I just edit the size in the html for the image in Text edit mode?”
Sure you could. However, what I like about the Image Edit method is that you have your image height automatically scaled to the custom width you choose so your image doesn’t end up looking distorted.
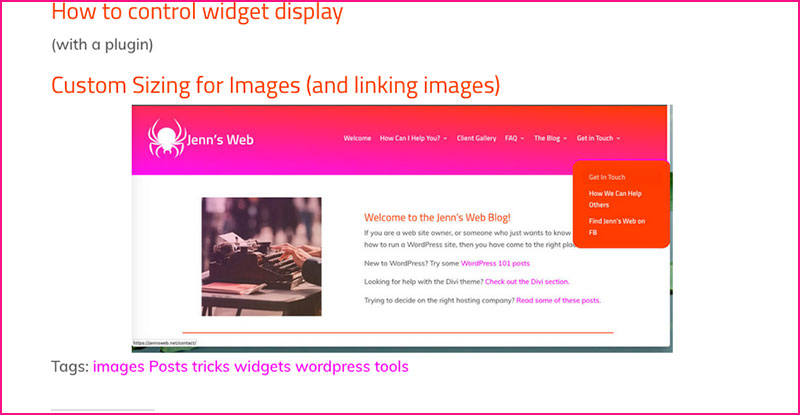
Here’s everything sorted out. The image will now be smaller on the front end, plus, it’s linked to the blog.
Here’s what its html looks like now.
And here’s the final result. An image that won’t overwhelm your layout!
Wrapping Up
And there you have it. Hidden, or not very obvious, customization tools you may not have realized were already in your WordPress dashboard. No plugins needed, just knowing how to look in the right places.
If you try any of these out and have questions, feel free to post in the comments below, or, add any WordPress tricks you’ve found to be really helpful!